10 Art Show Tips & Hacks!
listen to me read this blog post here:
We moved to our current home eleven years ago this month. It is difficult to believe my youngest was not even a year old when we found our beloved house. He is a middle schooler now! I will never forget when he took his first steps in the kitchen. On the night we closed on our house, we slept on an air mattress in the living room. All our furniture was still in a POD in the driveway. The next morning, we were woken up by the great news that my nephew was born!
At times it seems like the days are slow with little ones, yet the years go by fast. There are markers for the passing of time, like the Leyland Cypress seedlings I planted in our front yard which are now two stories tall. The single pot of perennials my brother gave me has lovingly been divided and transplanted all over our property, providing weed-choking edging and purple blooms in August when everything else seems to be dying of thirst.


Images: My oldest son admiring our packing skills, Loading the moving POD at our old house, My youngest son taking his first steps in our new home, Meeting my newborn nephew the day after we closed on our house, First time at the reservoir across the street from our house, My oldest son checking out the reservoir for the first time, Remi on a daily walk on a gorgeous October day, A beautiful sunrise at the reservoir
Even though we “researched” the area, we didn’t know too much about our town. We are lucky; the schools (teachers!) are great and the reservoir/ park across the street is gorgeous. I walk my dog Remi there every day. Our town has a lot of hidden treasures and exceeded our expectations.
One such gem is Calgo Gardens. On the surface it appears to be a landscaping business and nursery. It is much more; it houses multiple entities. There is the farm-to-table Tulip Tree Café housed in a historical farmhouse-type building, “The Barn” - a gift shop featuring handmade artsy items (some new, some upcycled), yoga (The Yoga Loft NJ), wellness services (Sacred Roots), a yurt, outbuildings with vintage things and antiques (@innvintagecalgo), vegetable gardens, organic florist (Flowers From the Farm NJ), year-round aquaponic produce (Little Box Farms), chickens (and fresh eggs of course), a photography studio (Diana P. Lang Photography), and even therapy (Susan Estomin, MSW, LCSW). It is the kind of place you want to stay a while and explore to get inspired to make your homestead a place you never want to leave. They offer workshops for the community like beekeeping, jewelry making, painting, Ukrainian pysanky (egg) decorating, garden coaching, calligraphy and much more.
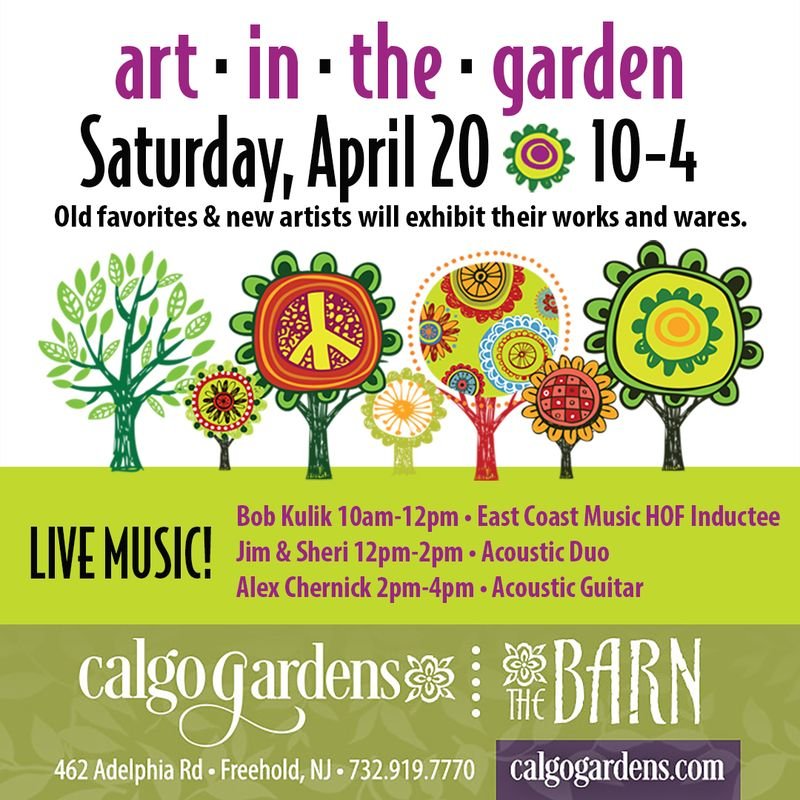
Twice a year Calgo Gardens hosts Art In The Garden, an event full of vendors and live music. For years I would take my family to Art In The Garden after our kids’ soccer games on Saturday morning in the Spring and Fall.
I never envisioned myself to be one of the vendors. I started making art again during the 2020 pandemic. I worked on creating something every day during that time to stay sane and quickly I accumulated quite an inventory of pieces! Art In the Garden was the perfect way to get my feet wet in selling my art.


Images: Calgo’s Art In the Garden promotional graphic, The business entities at Calgo Gardens, A map of the Calgo property, Social media post featuring a beekeeping workshop, My dad with the chickens at Calgo, A screenshot of Calgo Garden’s social media post
I am not someone who has ever felt comfortable learning by throwing myself into a situation blindly and “breaking things”, as in, learning as one goes along. I DO like adventure and exploration. It often involves researching, over researching, preparing and building a safety net of sorts.
Maybe it is due to ego, pride or maybe it is perfectionism. None of these reasons is great. Having to resolve issues, i.e. “put out fires” instead of preventing them in the first place seems crazy to me. Going into a situation blindly induces crippling anxiety for me. In a weird way, I actually envy people who have the confidence to do things without preparation; it seems very freeing. Nope. Not for me.
I like to exhaust myself researching best practices, considering all the possibilities, envisioning what could go wrong, preparing ad nauseum, having ALL the checklists, asking for help, having a backup plan...I know…it sounds excessive.
Full disclosure, I have been told I overthink things. Sometimes it gets out of hand to the point where it takes me a long time to get to the finish line or I don’t get there at all. I have been (mostly) a rule follower my whole life, probably to my disadvantage. I am slowly unlearning to follow the societal rules that don't serve anyone and allowing myself to improvise. Failure, I hear, is where growth happens. In addition, perfectionism prevents exploration.
Being told my overthinking causes lack of productivity was great feedback and made an impact on how I operate today. I highly value productivity. I am always trying to find that balance of putting my best work out into the world but also being mindful of my productivity. When I am finishing a painting, this is very difficult because I always see some details I can fine-tune.
It DOES create a dynamic of two opposing forces in my brain. There is a tipping point where the benefit of belaboring a project takes a steep dip and progress stalls. Research and preparation help to a point, then becomes a way of procrastinating the inevitable scary part of the process: releasing control, severing any attachment to results and just DOING the thing to get to the finish line.
This holds true for art shows. The day approaches, and whatever is done is done! The finish line approaches: ready or not, there it is. Time to get comfortable with the uncomfortable.
I have several years of experience with a bunch of art shows and want to share what has worked for me and what has not. If you are reading this and you are not an exhibitor, keep reading! I urge you to read to the end to gain an appreciation of how vital you are to the community and what goes into planning these events. Also, maybe you will realize this is something totally do-able you can also try to turn your hobby into a side hustle or full-time gig!
The event hosts, curators and artists do so much work behind the scenes. It means the world when you throw a compliment our way, purchase something big or small, or support us by letting your network of friends know about us. Your fellowship is quite literally the fuel that keeps us creating and bringing more joy into the world.
I have learned a lot attending art shows and preparing for them as an exhibitor. I am sure I still have a lot to learn too, so send me a message if you have any pro tips for me! Here are my top ten tips:
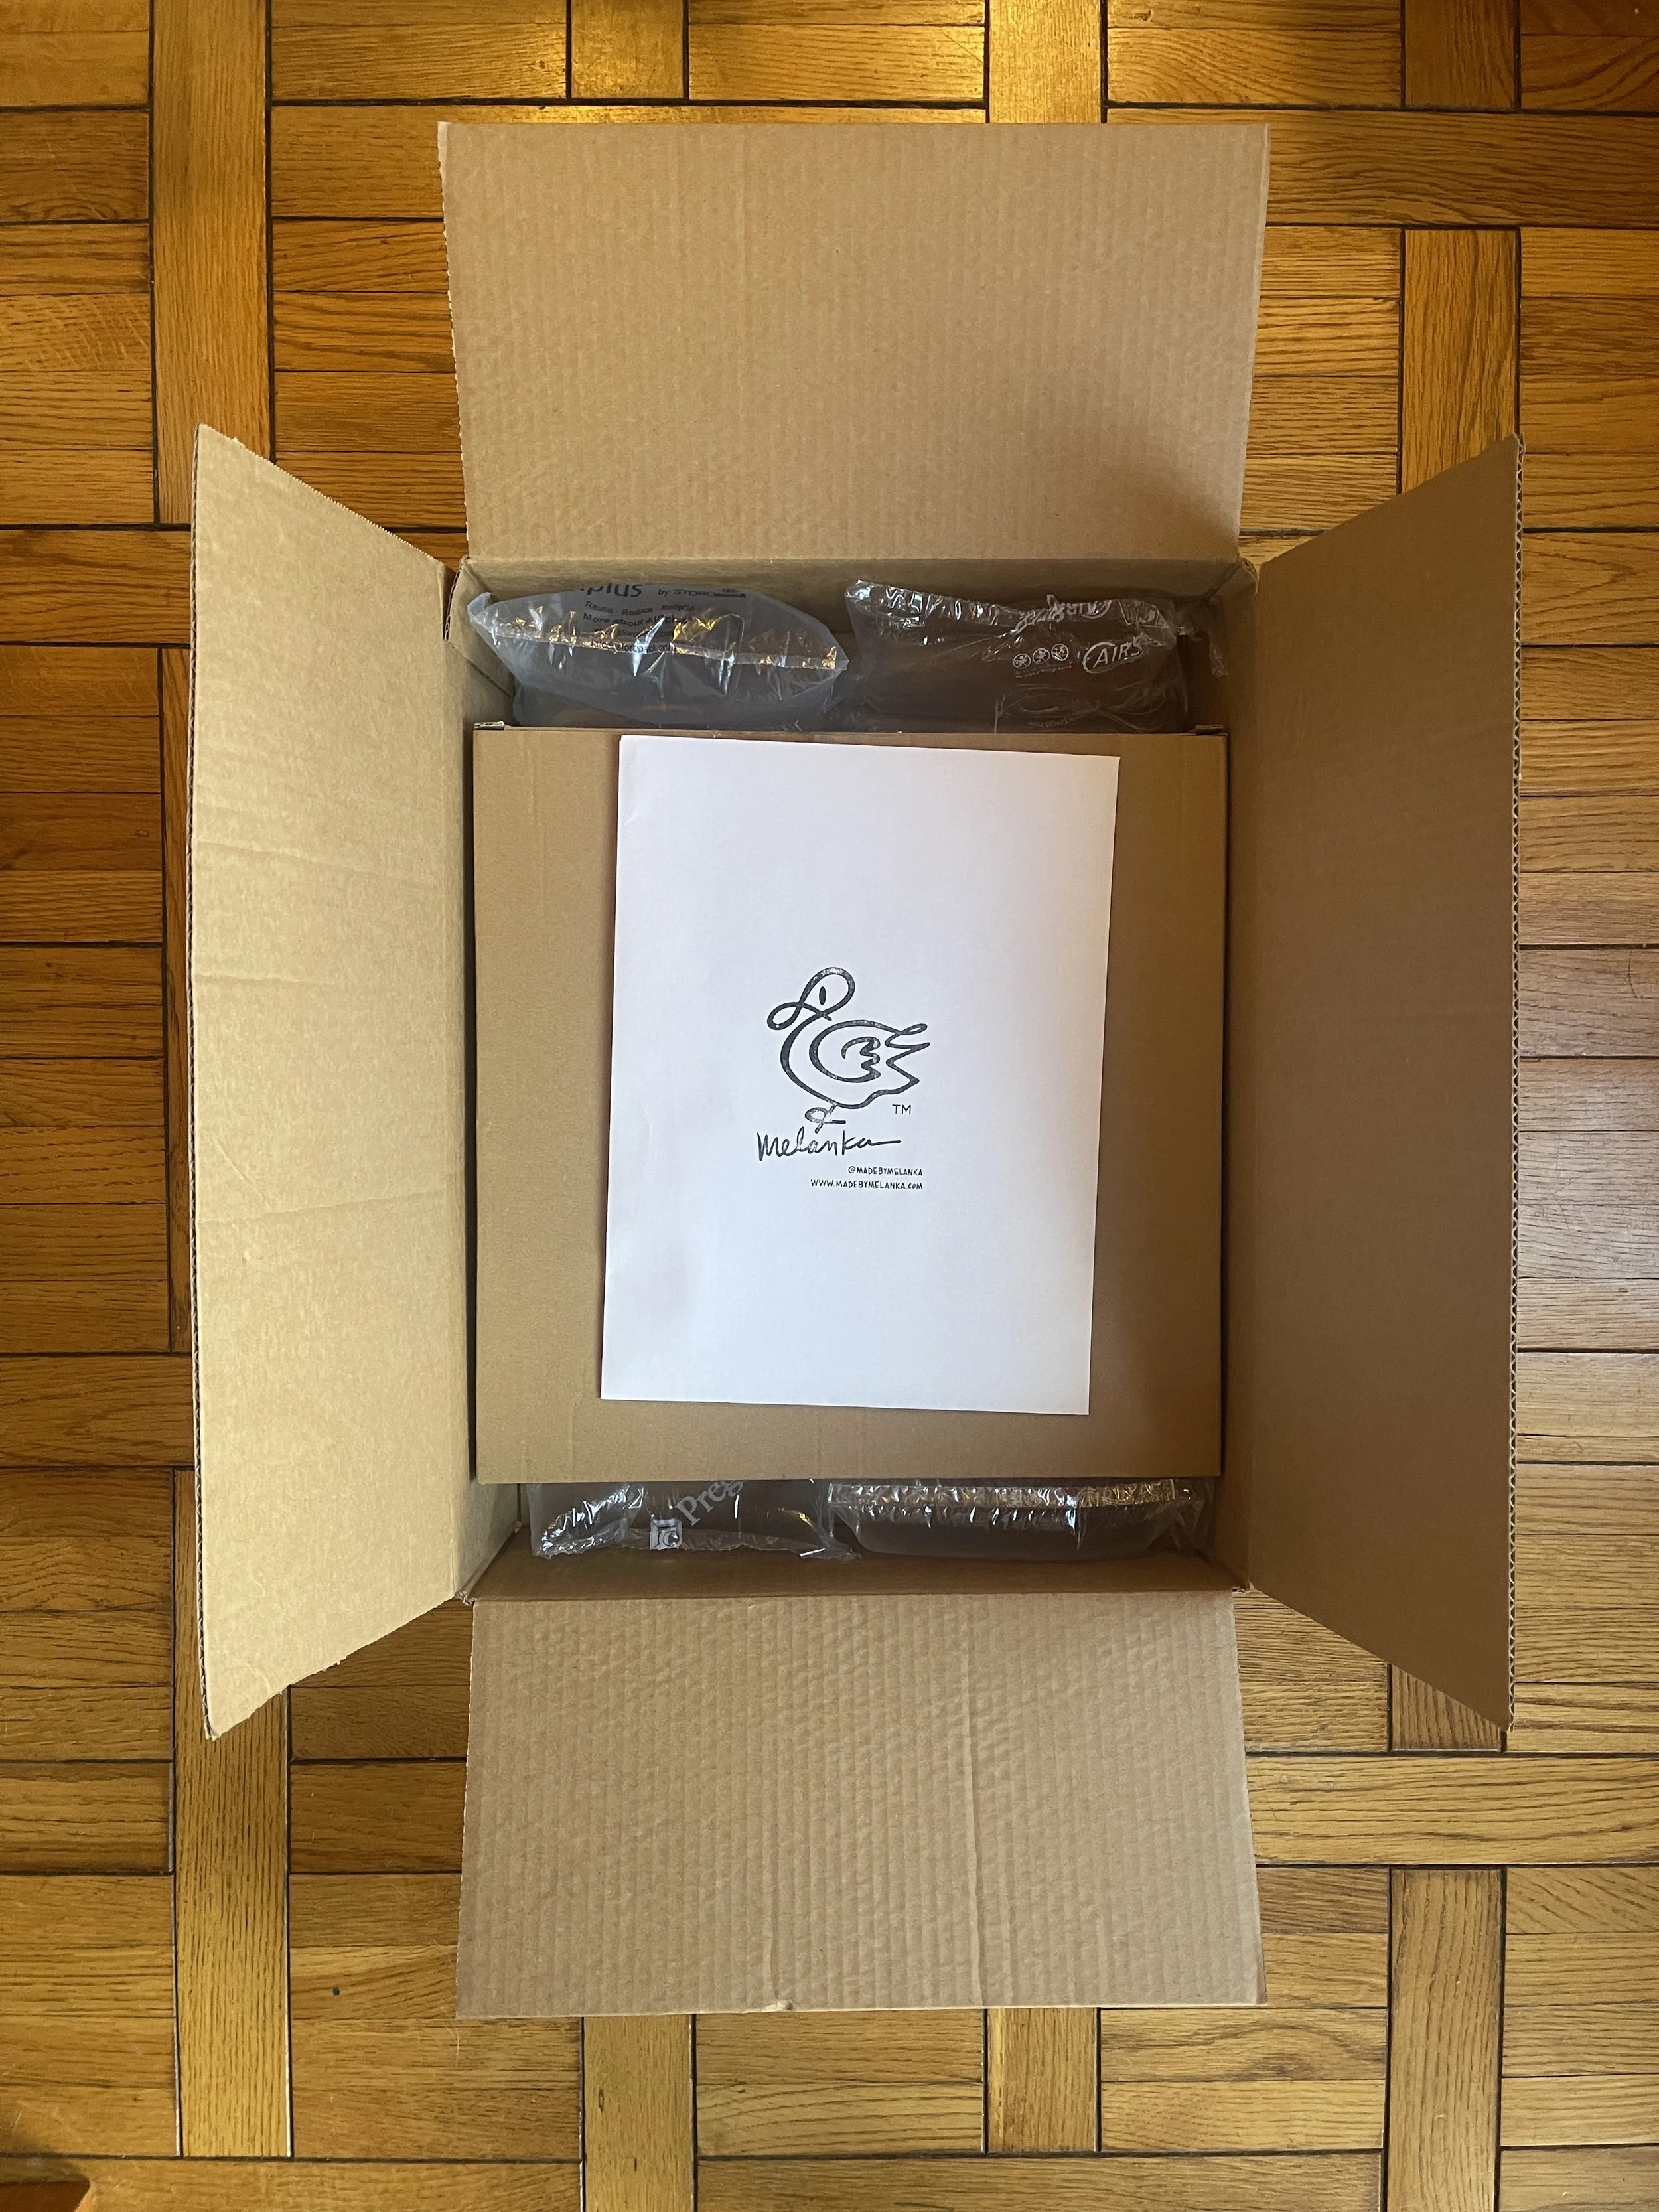
1. Store and label your artwork carefully in a dry, temperature-controlled area. Ideally this would be away from a washing machine that could leak, where the kids play, or pets can get into it (I learned the hard way). To save money and to be as eco-friendly as possible, I save packing material from Amazon, FedEx, UPS deliveries including boxes with dimensions appropriate for my pieces. To avoid opening and closing the packaging and risk damage, mark the contents of the boxes discreetly on the top and side. Do not use bubble wrap without protecting the artwork with a layer of tissue paper or some other kind of packing paper. Bubble wrap leaves a film of little circles (again, I learned the hard way). Corners of canvases and frames are extra vulnerable to damage; save the corners of purchased frames and reuse them. If it isn’t a custom framing situation, I buy frames online, so I have the perfect size box for that piece.
2. Visit the venue (and/or event). Whether it is an indoor exhibition or outdoor show, take the time to learn about the space and the people who show up there. I attended Calgo’s Art In The Garden event for many years before I became a vendor, so I knew exactly the demographic of folks I would see there and what they are looking to buy (in general). I spoke with vendors about their experience, picked up business cards and shared my business card. I talked to them about their best-selling items, where they source things like their art prints or materials, and their display. Learn who runs the show and reach out to them with your interest in participating. It is common for there to be waitlist, so get on their email list as soon as you can.
3. Create a system to track your inventory. I use a simple Google spreadsheet which is accessible to me from my phone. When I complete a piece, I immediately add it to my spreadsheet including the name of the piece, whether it is an original or a print, dimensions, date completed, photo, price, medium, whether it is available/ sold/ gifted/ donated, where it was sold, to whom it was sold (if possible, plus their contact information), how it was purchased (cash, Venmo, credit card/ Paypal, etc.). Having the spreadsheet is helpful in knowing what inventory you have on hand and making it easier to curate what pieces you decide to lug to a show. It is also a way stay consistent while determining your prices.
4. Understand the logistics. It is so overwhelming to set up your artwork in a rush, be late for a drop off time or not have what you need to be ready for a show or exhibition. Know how near or far you must park from the site. Having helpers (isn’t this why we have children in the first place?) and a cart might be in order (or wellies!). Ask the venue or curator what will be available to you, what will be provided or what you are expected to bring. I have had the honor of being accepted into juried shows where the museum provided all the labels and did the hanging (but I was required to wire my own pieces). At library shows, I needed to outfit my pieces with “D” hooks because of the track system (wires were not suitable). I also had to print labels for all my pieces, as well as any other signage. Saved checklists are your best friend to stay organized.
5. Bring a tool bag. I call it my “GO” bag. It never fails that I will need something from it at some point while preparing an art display. It has everything from pliers, a hammer, all different kinds of tape, sharpie markers, pencils, pens, price tag stickers, glass cleaner, a level, measuring tape, “S” hooks, “D” hooks, craft wire, business cards, paper towels, lint free cloth, zip ties, museum putty, and more. Every time I do a show I think of one more thing that would be helpful and add it to my bag. Plus, it always feels great to help a fellow artist if they need something and an easy way to make a new friend. These friends will let you in on opportunities, connect you with their friends and share their best practices. It is a win-win!


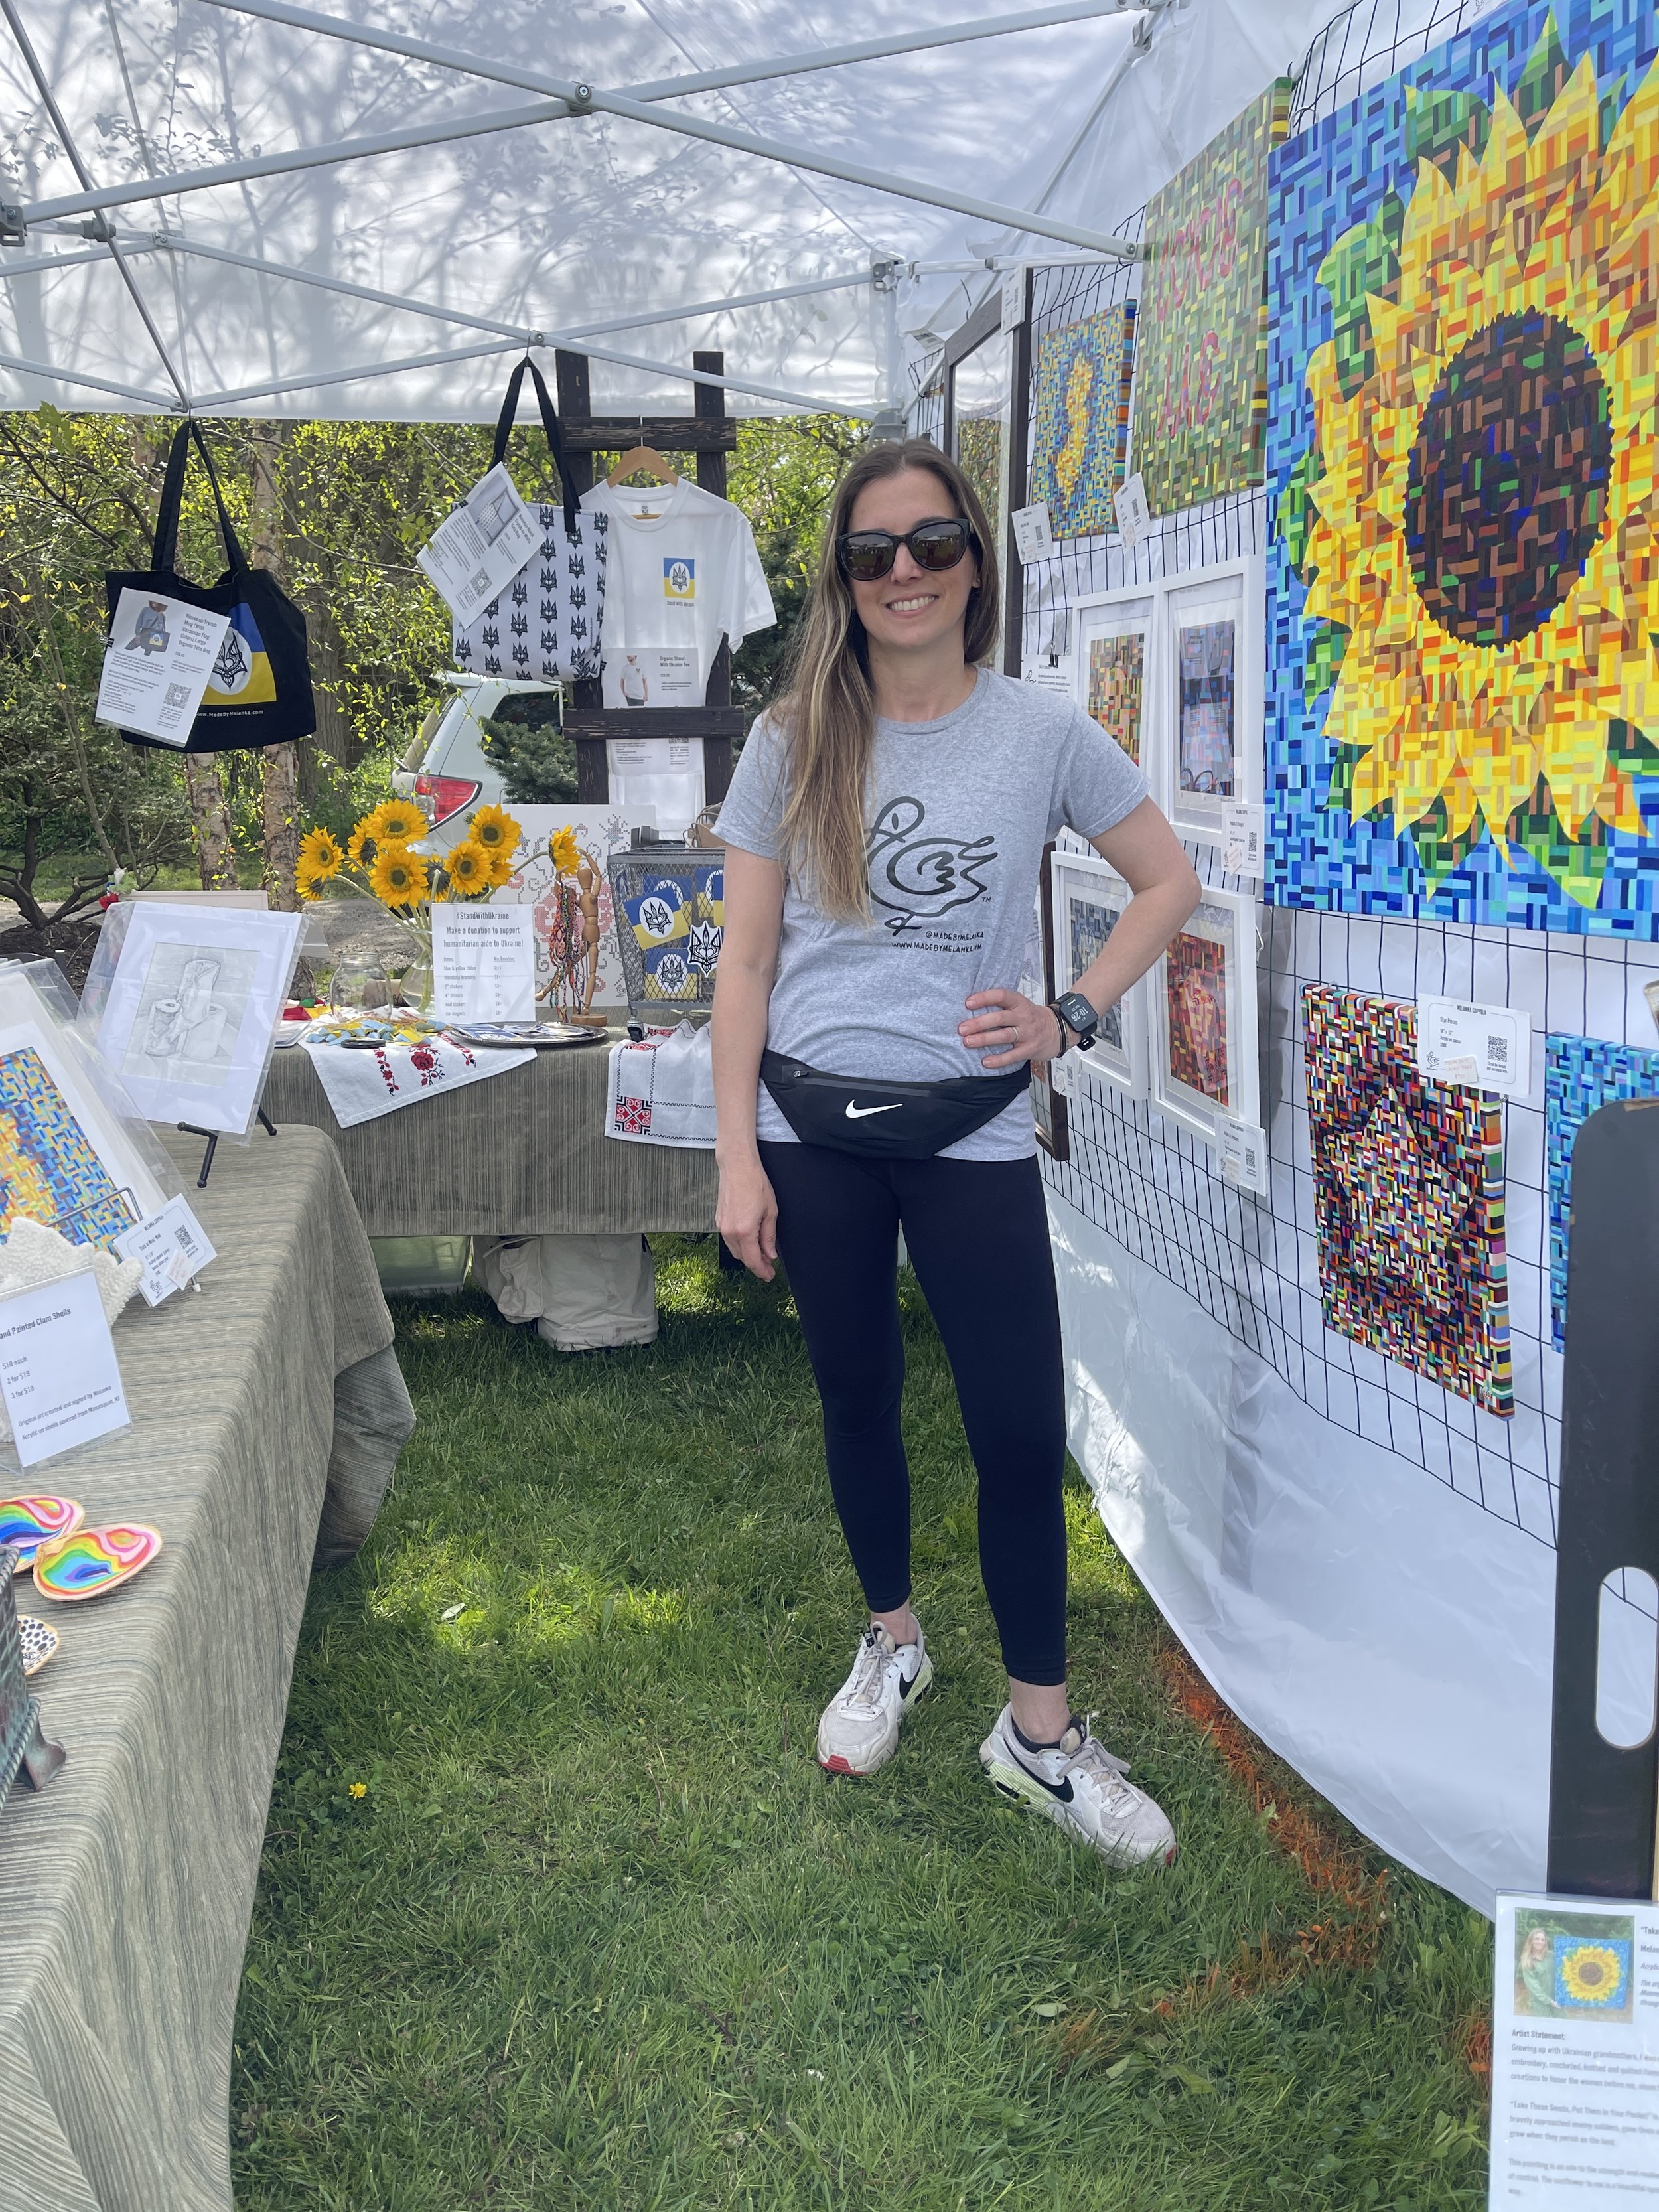
Above: Taking photos of your setup makes planning for the next show a little bit easier, Leaning into a passer-by’s request for a photo with my sunflower painting, Incorporating something philanthropic (like donating proceeds to humanitarian aid in Ukraine, in my case) is a great way to spark conversation with visitors, Wire mesh “walls” optimizes the space in my display, Sticky putty is one of the key staples in my “GO” bag, Indoor (library) setup is very different from outdoor shows and required making my own labels, Sample art labels including QR codes taking potential collectors to my website, A“D” hook, Unframed archival prints (including my artist friend Tanya Debarry’s print) are best sellers at outdoor shows, Save money and be more Eco-friendly by saving packing materials from other deliveries, A sample - the back of all artwork gets signed and labelled, Homemade “business cards” before I ordered “real” ones
6. Plan your display. As much as possible, plan your display ahead of time, especially for outdoor events. The first time I did an outdoor show, I set the whole thing up in my driveway to make sure it would work. For Art In The Garden, the exhibitor spot is 10’ by 10’. I purchased an EZup commercial tent at Sam’s Club. It has removable sides, giving me options for different weather conditions. I discovered I can display the most items securely by zip tying rectangular wired mesh to two or three sides. Eventually I decided hanging the removable sides felt unwelcoming or a “barrier to entry” for visitors. For me, keeping the tent open makes things flow and the conversations with passers-by easy and ongoing. I arrange and hang my artwork on the wired “walls” using the “S” hooks I mentioned earlier. Whether the artwork has wire in the back or “D” hooks, it stands up to breezes and, an outdoor art show’s nemesis: wind. I usually have a folding table in the middle with smaller or less expensive items to purchase. I have a chair ready, but the day flies by and I don’t sit very much. People are more engaged when you’re on your feet, making eye contact and starting dialogue (even if it has nothing to do with the art).
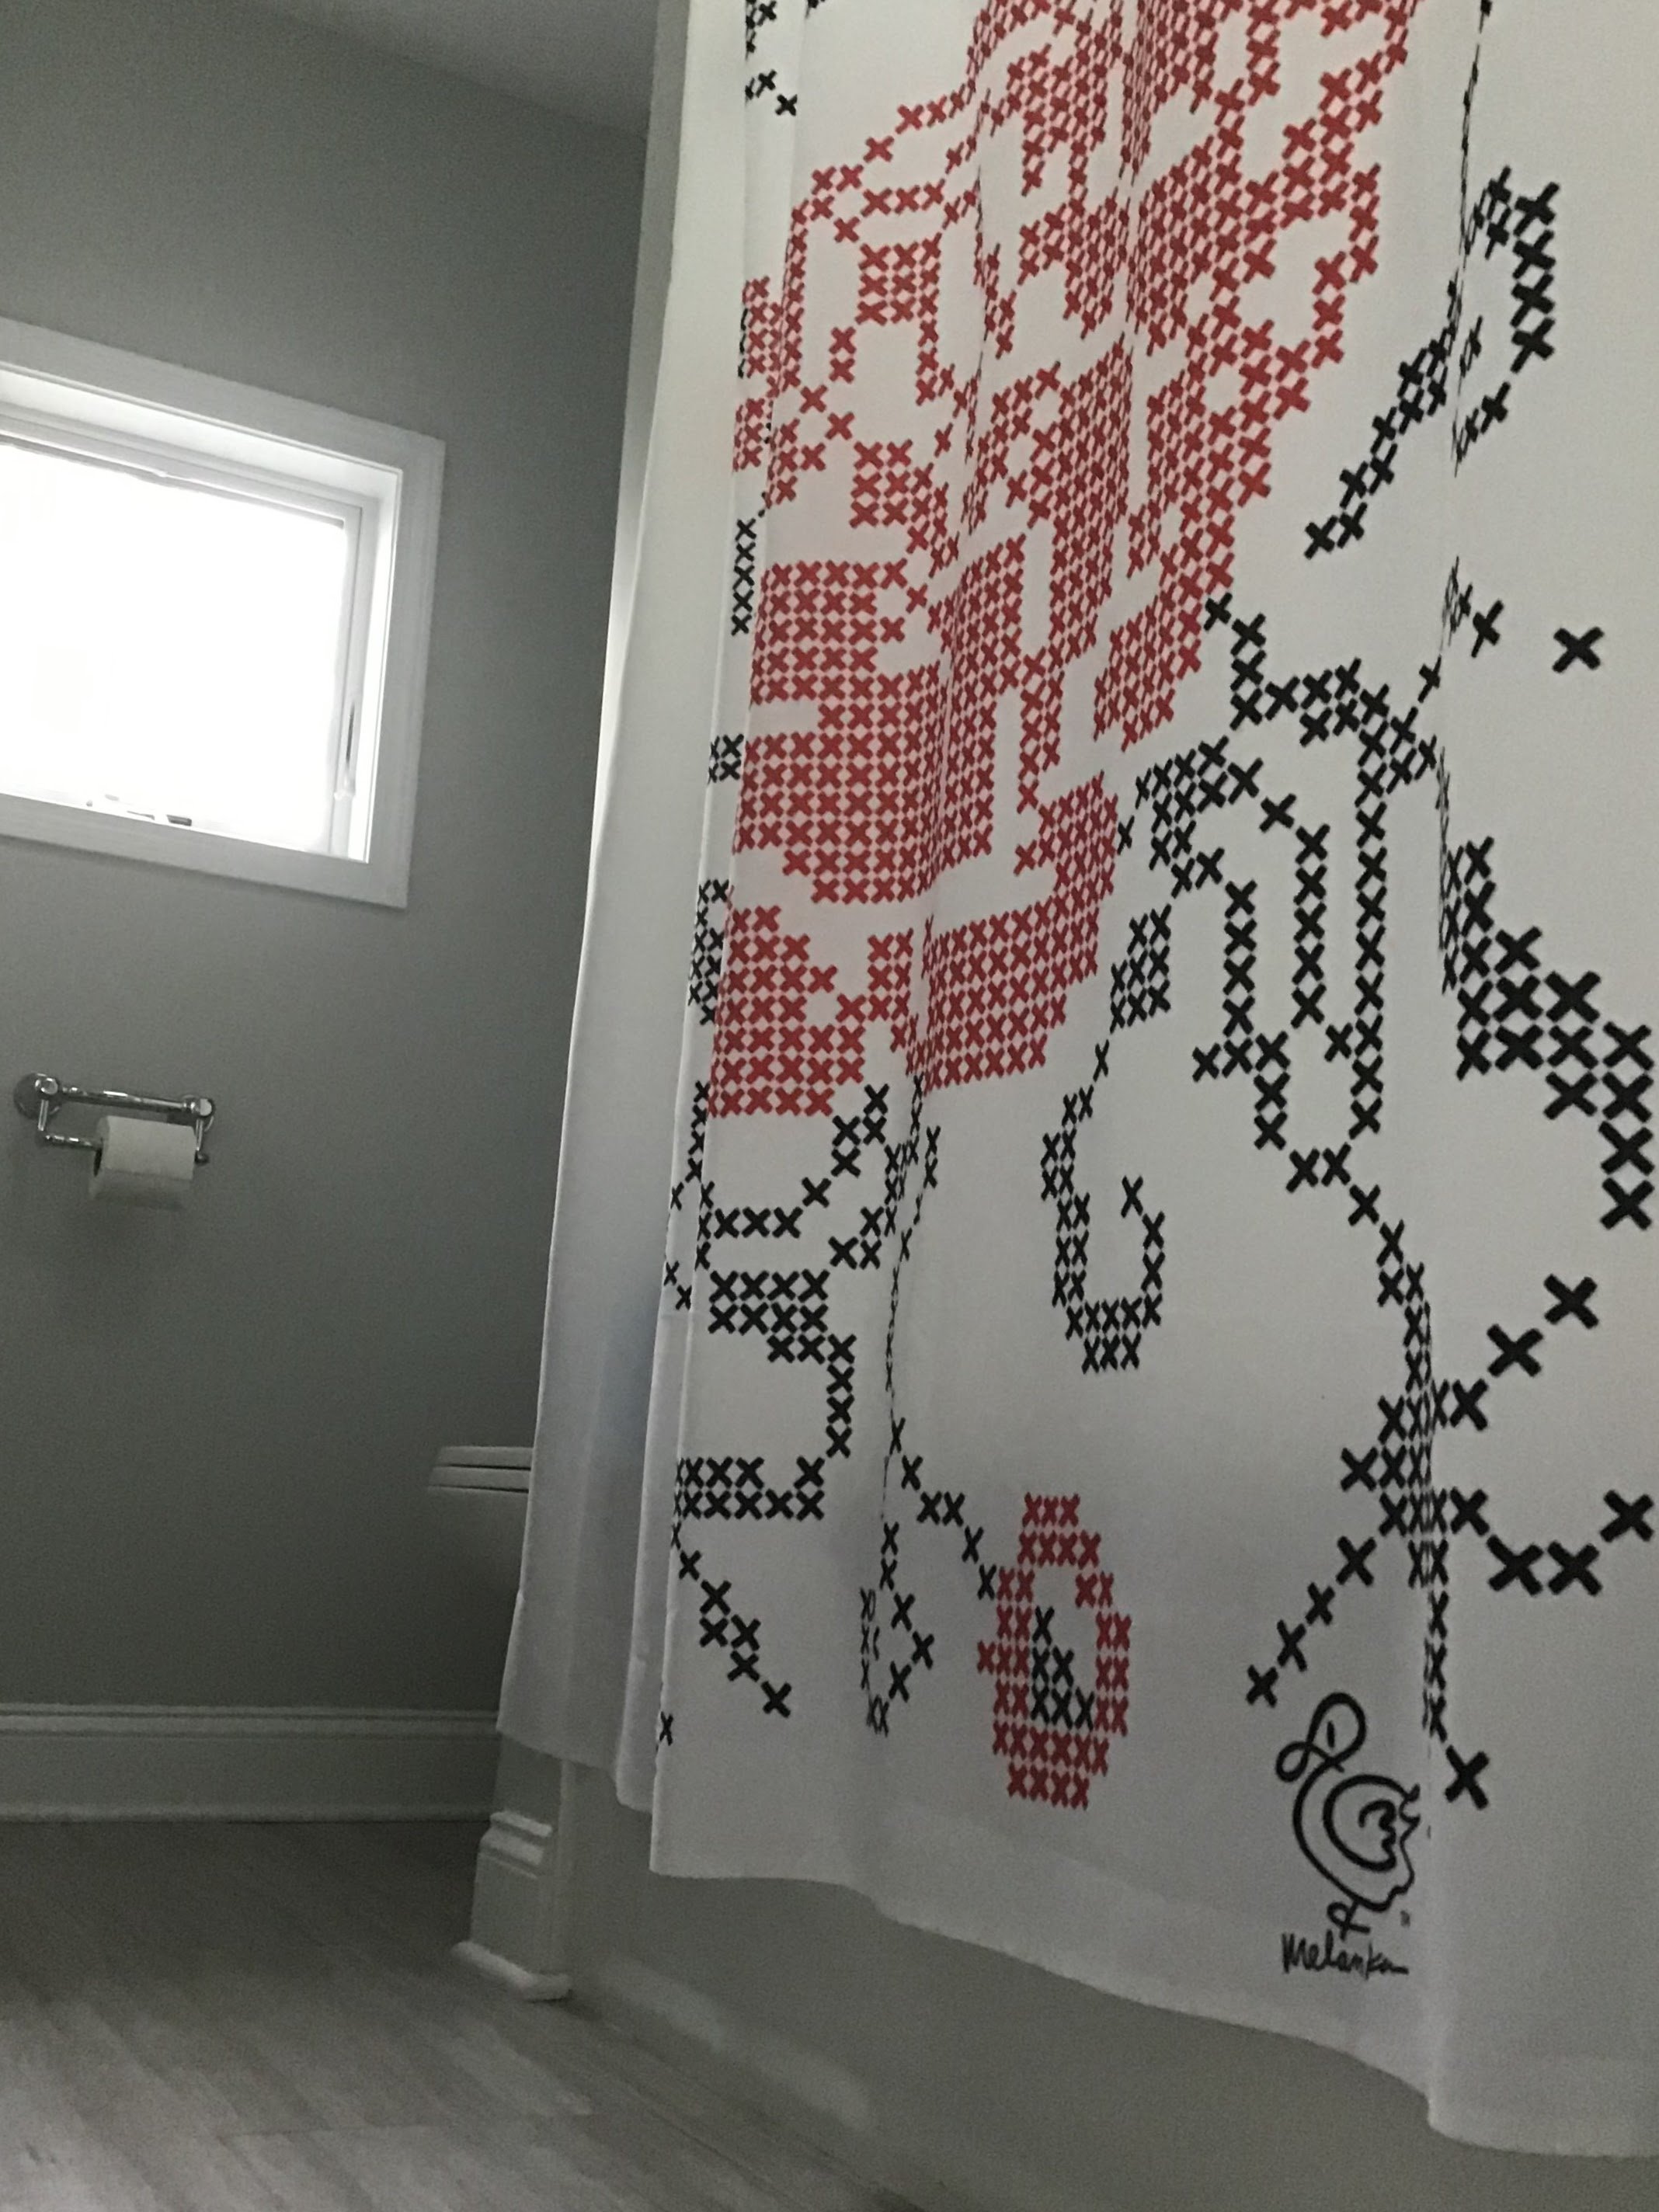
7. Show your prices. In my humble opinion, I don’t think you should make a potential buyer ASK what something costs. I took a class in college called “Consumer Behavior” and learned a bit about the psychology of purchasing behavior. Make it as convenient as possible for people to make purchases. Thankfully today with technology there are very few hurdles for buyers. It may look lowbrow, but I include QR codes on my artwork labels so a purchase can be made without me there (as in the case with library shows). It takes the buyer to my website to complete the purchase and I email them to coordinate shipping, local pickup or delivery. At outdoor events, since there is no shipping to worry about, I offer special prices for that event only. Be sure to have all your payment options on signage so people know how they can pay without having to ask. It could be the difference between making a sale and someone walking away because they are too shy to ask or because you were helping another buyer. I use the Square (a tiny device you plug in your phone) to swipe and complete credit card purchases in person. It is seamless and secure. You just have to download the app and test it ahead of time. Be sure to have enough small bills on hand to make change for people paying cash. I recently received the feedback to have more merch with my artwork on it. So for people who like the artwork but don’t have wall space or just want something small and inexpensive, for example, might like the art on a tote bag, t-shirt, or mug. Having a price range of items is never a bad idea. Your item will be with them to remind them of your work, and it could turn into a commission or bigger purchase in the future. I think of it as free advertising. When you make decisions regarding the price of your work in exhibitions, like juried shows, don’t forget to account for submission and commission fees you have agreed to pay.
8. Know your story, mission and “why”. Whether you are schmoozing with people at an art opening or trying to sell your work at a craft show, be crystal clear about your story. Be vulnerable, yet positive, about your journey and curious about the person with whom you are speaking. I have had some DEEP conversations with people and connected with them in less than two minutes by having a few one liner ice-breakers in my back pocket. Be authentic, but don’t be afraid to give a compliment to get a conversation going. Or simply let them know if they have any questions about the artwork to let you know. Observe what catches their eye and tell them the story of how that piece came to be. Ask for feedback. Offer a business card. Ask them to follow you on social media, or if they would like to be on your monthly email list so they can check new available artwork or so they never miss a show.
9. Be ok with not selling a lot or anything. I truly believe growing an audience for your work and being “successful” (whatever that means to you) is a SLOW BURN. I treat every effort like I am planting seeds in a garden. I may not see the fruits of my labor, or even the seedlings, for a long time. I want to make sure I cover my costs of course, but I am at events to learn if I am on the right track with what people want and like and for what price. I am (like many artists) in a vacuum, an echo chamber, working from home. I rely on the events to market myself and get some leads for commissions or other opportunities like mural projects. Most creators don’t get into artmaking to be salespeople, but the sooner we realize we need to promote ourselves and our work, the steeper the growth will be. I’m human; I honestly resent the amount of time I spend NOT painting…but marketing and sales it is a necessary part of any business. I hope someday I can hire someone to do that part for me. On the bright side, the most rewarding part of attending events is spending time with the community I didn’t know I needed. I could have cried when a young woman told me how much our conversation meant to her. She was ready to quit artmaking completely. She felt she wasn’t any good at it. I told her that I think that is just part of the creative process. I don’t paint one thing without following vicious cycle: excitement at the start, questioning the direction of the project, total frustration where I want to throw it in the trash, walking away, feeling like I totally suck, coming back with fresh eyes, waking up in the middle of the night with a fresh idea how to make the piece better, starting to like it again, feeling like its dragging on forever and I just want it finished, not sure that I am ever going to be totally satisfied with the final product, then calling it done, and eventually stepping away and stepping back and being proud of myself. Whew! It is a rollercoaster of ups and downs I have come to expect. Learning to surrender to the process has been a wonderful lesson I share with people who haven’t yet discovered it and are stuck in questioning their abilities. Not every event or show will end with sales. I say: you will only learn more and get better, it isn’t possible in my view to get worse with iterations (so keep going, you will eventually find your audience).
10. Tidy up and follow up. The aftermath of an event can be UGLY. In my experience, it is always a rush to pick up and pack up everything at the end of a long day. You’re probably physically exhausted from the day or event, dehydrated and HANGRY. The car has been packed and unpacked many times. You’re stressed about damaging work you’ve spent SO MANY HOURS creating. Resetting after a show is important though. Take a breath then make sure everything is stored properly and your inventory list is updated with any sales that are made, including your website if you have one. Reorganize your tool bag, labels, and signage. If anyone gave you their business card or email, add them to your subscription list. Send a message to anyone you connected with thanking them for their support and follow up on any leads. Let them know you are excited for the potential project, explain your vision and what you see as the next steps.


Above: Know your story and mission to share in conversation at shows, Branding plus packing paper on a shoestring budget, Custom stamp on a roll of inexpensive pink builder’s paper , “Real” business cards I designed on the Procreate app on my iPad and fulfilled via Vistaprint, Mug with my logo, Event goers gave feedback for more merch with my art on it, Friendship bracelets are always an old-school way for people to support you or a cause!
So that’s a wrap! Those are my top ten tips on successfully preparing for an art show! I could go into greater detail with each of these, like tips for submitting art to exhibition, and maybe I will in a future post!
Don’t forget to send me your pro advice and thank you for sharing my blog with someone who might like the content!
Thanks for reading! I hope you enjoyed this post.
Do you have a comment, question or feedback for me?
I would love to hear from you!
Use the form below to get in touch.
Stay inspired,
Melanka

